
Our Garage Floor Coating Process
Here is how a typical professional garage floor epoxy or flake install goes in the Evansville area, from the first look at your slab to parking on the finished floor.
Get a Free Quote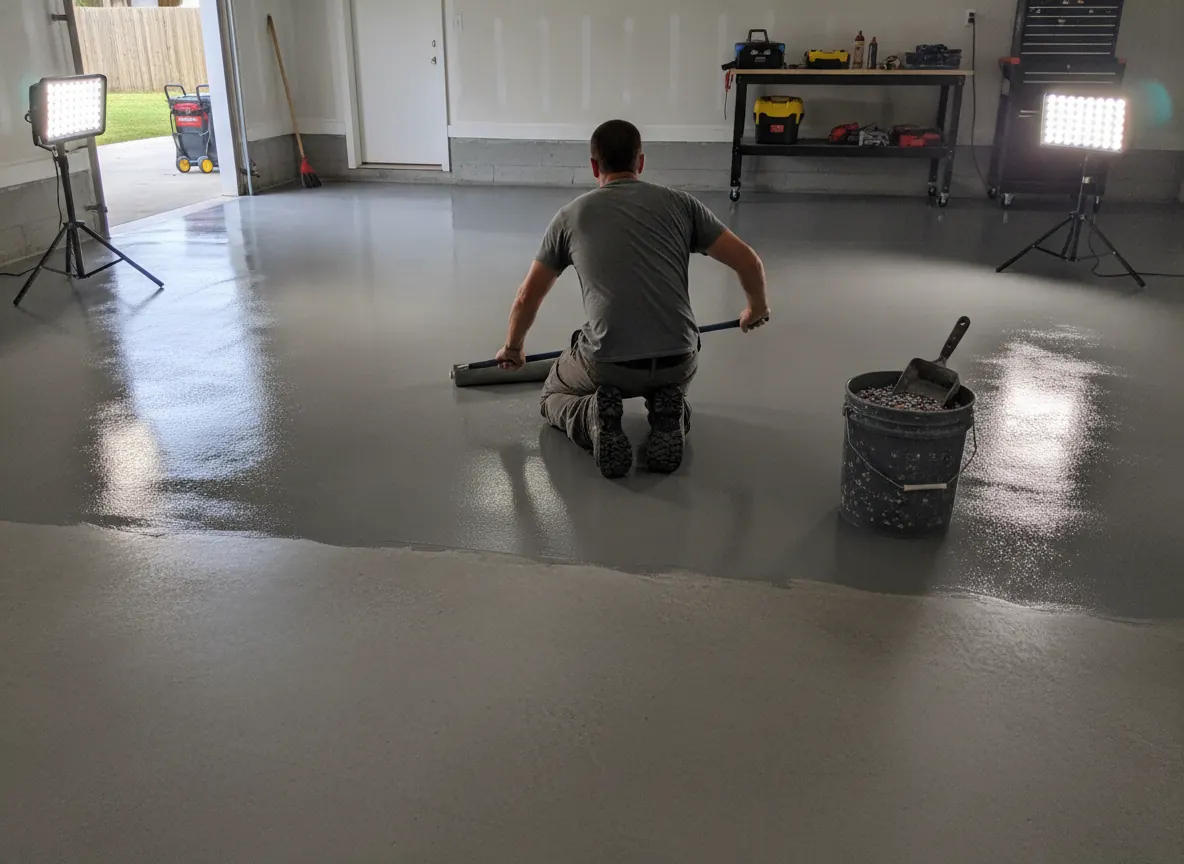
Why the process matters
Two garage floors can look the same on day one and perform very differently five years later. The difference is almost always in the steps you cannot see: how the concrete was prepped, whether cracks were repaired properly, whether moisture was checked, and how thick the coats went down.
That matters more in the Tri-State than in mild climates. Road salt brine, freezing and thawing through the winter, and hot, humid summers all test the bond between the coating and the slab. Knowing the steps helps you compare quotes and ask the right questions. Most residential installs take one to two days of work plus cure time.
The 8 steps of a typical install
Inspection and moisture check
The installer walks the floor, measures it and notes cracks, pitting, oil stains and any old paint or sealer. A moisture test shows whether vapor is pushing up through the slab. If it is, a moisture-mitigating primer is added to the plan before any coating goes down. This is also when you choose the system and colors.
Diamond grinding
A walk-behind diamond grinder, usually hooked to a dust-collecting vacuum, removes the weak top layer of the concrete along with stains and old coatings. Grinding opens the pores of the slab and leaves a texture the coating can grip. Edges and corners are finished with a hand grinder.
Crack and surface repair
Cracks, chips and salt pitting are cleaned out and filled with a repair material, then ground flush. Larger damaged areas may be patched or resurfaced. Good repair keeps the finished floor smooth and stops small defects from becoming weak spots in the coating.
Base coat
After a final vacuum, the base coat is rolled or squeegeed across the floor in your chosen color. Depending on the system this may be epoxy or polyaspartic. The base coat bonds to the ground concrete and forms the foundation for everything above it.
Flake broadcast
While the base coat is still wet, vinyl flakes are tossed across the floor, usually to full coverage so no base color shows. Once it sets, loose flakes are scraped and vacuumed off. Flakes hide dust and tire marks and add texture underfoot. Metallic and solid-color floors skip this step.
Clear top coat
A clear top coat, often polyaspartic for its UV stability, seals the flakes and gives the floor its gloss and wear resistance. Installers can mix in an anti-slip additive for extra grip, which is worth considering in a garage that sees wet, salty winter tires.
Cure
The floor needs time to harden. Fast-cure polyaspartic systems often allow light foot traffic in hours, while epoxy can take longer. Temperature and humidity matter: Ohio Valley summers are muggy from about mid-May to mid-October, and cold slabs in winter cure more slowly. Keep the area ventilated and follow the product directions.
Return to use
Your installer will tell you when you can walk on the floor, when you can put storage back and when you can park. Vehicles usually wait the longest, often a day or two for polyaspartic and several days for many epoxies. Use the cure time as a minimum, not a target.
How the steps change by coating system
The prep steps stay the same no matter what goes on top: inspection, moisture check, grinding and repair. What changes is the coating build. A flake system follows all eight steps above. A solid-color epoxy floor skips the flake broadcast and usually gets a second color coat or a clear top coat instead. A metallic epoxy floor replaces the flakes with pigmented epoxy that the installer works by hand to create the marbled look, which takes more time and skill.
A polyaspartic system moves faster. Because polyaspartic cures quickly, the base coat, flakes and top coat can often go down in a single day, and you may get the garage back sooner. Basement floors add extra attention to moisture, since slabs below grade are more likely to need a vapor barrier primer.
How to get ready for install day
- Clear everything off the floor, including shelving on the slab if possible.
- Plan to park in the driveway or on the street through the cure period.
- Ask whether the installer will coat the stem walls or the step into the house.
- Expect noise during grinding and a strong smell during coating; keep pets and kids away and ventilate the space.
- Ask for the cure schedule in writing so you know when to walk, store and drive on the floor.
Comparing quotes? Ask each installer whether they diamond grind or acid etch, how they handle cracks, what products go into each coat and what their written warranty covers. Warranties in this industry vary, so read the terms rather than relying on a label like "lifetime."
Prep is the step that decides how long a floor lasts. Learn more about concrete prep and crack repair, read why grinding comes before epoxy, see garage floor epoxy cure times, or check typical prices in our cost guide.
Ready for a garage floor that cleans up in minutes?
Free, no-pressure quotes across Evansville, Newburgh, Henderson and the Tri-State.